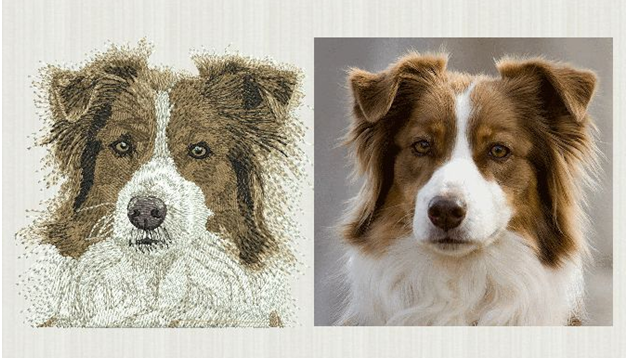
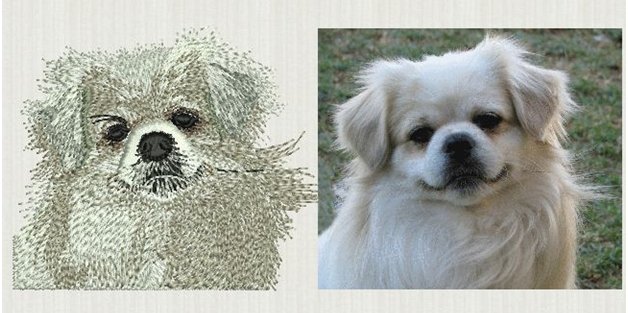
One of the mightiest challenges facing embroidery digitizers is the art of producing realistic animals with a good hair effect so that a dog design, in particular, results in a real dog hair finish.
Often times a design may look dull, boring and just plain flat and you may feel like it’s impossible to achieve a real look. But there are a few tricks that can help you to bring the furry dogs to life. Most importantly, to get a real look, your design needs to look alive. Here are a few embroidery digitizing tips to achieving a natural fur over a muscle structure.
Drawing or Photo
Use a drawing or photo of the dog for digitizing. But, when digitizing the dog design for a real look, it is preferable to use a photograph. Imagine you are asked to digitize a design of a dog for its owner. Whichever picture you take, or is presented to you, study it thoroughly in order to define the path you’ll take for digitizing. Mark the questionable areas. Also, decide according to the size of the design as to how much detail you will need to include during the embroidery process. Smaller designs are easier to work with as sometimes in large designs, if structure isn’t properly defined, sew out comes out really flat. Try to pick out prominent features of the dog that reflect its identity or personality.
Get Familiar With Direction
Study and get familiar with the direction of the hair while digitizing for a realistic fur effect. Create guidelines using bright and contrasting color using the embroidery digitizing software. These guidelines will serve as a reminder to keep the hair of the fur flowing in the right direction and to include the details that you initially planned.
Start With The Underlay
Begin by digitizing the underlay with run stitches to stabilize most of the area. Follow it in a smaller design with a light density fill stitch. This foundation is necessary to avoid puckers around the design and to contribute to density of the final coverage.
Choosing the right type of stitch, as well as parameters, are crucial for the final appearance of the dog design. For large designs use sections of complex fill but try not to break large objects into multiple sections. Rotate each section in order to maintain the natural direction of hair growth. Both small and large designs will work well with column fill stitches.
If the columns do become too narrow, use satin stitches. You can also use satin columns or column fills with a long stitch length to help define the dog’s muscle structure, for example around the legs.
Try to keep the size of objects to a minimum so that multiple changes in density can be granted and adjust the stitch length according to the length of the animal’s hair.
If the dog has short hair, you can use shorter stitches.
These tips will help you to improve your digitizing ability to create a realistic dog design with a great hair effect.


